
For some time, I thought about opening a Master Games blog where we would share the development progress of our new products and tutorials about game and web development. When I was given the assignment of having to do something in PHP to complete the course, I immediately started working on this blog engine!
Why did I build my blog engine?
Before I got an assignment of creating a blog in PHP, I thought long and hard about using WordPress as a CMS for a Master Games blog. I used WordPress in the past for posting news about the gaming community I ran, so I was quite familiar with how it works. But WordPress itself is a complex CMS and it has certain features that I didn't need for this blog, such as the plugin system and website themes. More features require better and more expensive web hosts.
Building own blog engine
The blog engine is made in Laravel 7. If you don't know anything about Laravel, it is one of the most popular open-source PHP frameworks available on the internet! In the past I had built my version of Instagram in Laravel. I really liked how they made it easy for web developers to build their web apps. They solved a lot of problems in the background. Do you want to upload files on a server?
$path = $request->file('avatar')->store('avatars');
Boom done! Although the code above will generate a UUID for the name of your file, with other functions, you can easily specify a new file name. Also, there is a webpack wrapper inside Laravel that is called Laravel Mix! With Laravel Mix, you can easily merge multiple JavaScript or CSS files into larger files and minify them (if you export projects for production). I used Laravel Mix to merge all the JavaScript and the CSS files into two large files that are minified. Because it reduces the number of HTTP requests that the Internet browser sends to the server (unless the browser caches them in local memory) and makes your website load faster! New blog must have:
- Lightweight — It should not take up a lot of server performance and memory
- Speed — Pages must be loaded at the speed of light
- Admin panel — Where the user can: register new users, post and edit blog posts and place for edit general blog settings
- WYSIWYG editor — It immediately shows the user the design and content of the blog post
- SEO friendly — Must have automatic sitemap.xml generation and have all the accompanying SEO content like: breadcrumbs, Open Graph Protocol, Twitter Cards and JSON-LD
- Responsiveness — Blog posts and dashboard must be available on mobile devices
- Localisation — Links and certain blog features (like user description and posts) must be localized on croatian and english language (yes, you can read this post on croatian)
There were a lot of goals (and little time), so I immediately threw myself into making the engine!
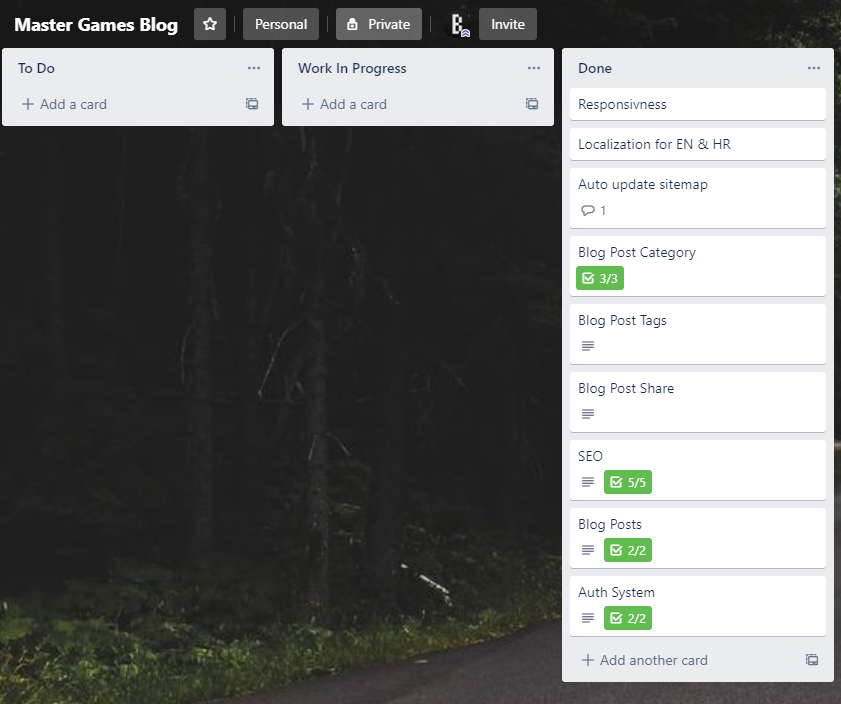
I set up Trello with initial goals and immediately started installing Laravel and some other things needed to get started.
Infrastructure
Upon installation, I wanted to get rid of the futile work and install packages that would shorten my creation time, but also bring additional functionality to the blog engine itself.
- albertcht/invisible-recaptcha — For using reCAPTCHA v2 in input forms on the blog
- davejamesmiller/laravel-breadcrumbs — For automatic generation of blog post breadcrumbs in JSON-LD
- rinvex/laravel-categories — For blog post categories
- rtconner/laravel-tagging — For blog post tags
- spatie/laravel-translatable — For localization
I honestly could have written my code for the listed packages, but why bother to code something yourself when you could use a publicly available code? Right at the beginning, I had a finished blog. But more things needed to be added, and everything needed to be combined with the current website design. Laravel projects are done in MVC architecture, so this blog was done in that architecture as well. Everything is divided into models (that store data), a view (that displays the processed data), and a controller (that processes the data). The model for blog posts is shown below:
<?php

namespace App;

use Illuminate\Database\Eloquent\Model;

class Posts extends Model
{
    use \Conner\Tagging\Taggable;
    use \Rinvex\Categories\Traits\Categorizable;
    use \Spatie\Translatable\HasTranslations;

    /**
     * The attributes that are translatable.
     *
     * @var array
     */
    public $translatable = ['title', 'slug', 'body'];

    /**
     * The attributes that are mass assignable.
     *
     * @var array
     */
    protected $fillable = [
        'title', 'slug', 'cover_img', "body", "online"
    ];

    /**
     * The method that have relationship with another table in DB.
     */
    public function author()
    {
        return $this->belongsTo('App\User', 'author_id');
    }

    /**
     * The method returns created_at time formated with ISO 8601.
     */
    public function create_time()
    {
        return $this->created_at->format('c');
    }
}
A controller dealing with data processing is generated from the above model. To create an HTTP route that uses functions from the controller, you need to write the following line of code in routes.php:
Route::resource('posts', 'PostsController');
This single line of code defines the HTTP route for all RESTful actions within the posts controller. The table below shows all the actions managed by the controller:

Admin panel
The admin panel allows blog authors to easily write blog posts and update the blog's general settings. Due to security risks (and because we did not need public registration), the registration of a new user (author) is done by a dashboard.

The dashboard is also responsive, allowing authors to view or publish posts via their mobile phones.
WYSIWYG editor
I chose CKEditor because it is free and because it provides features like Google Docs or MS Word. You can easily copy text from any MS Office programs or Google Docs, and that text will be displayed inside the editor with the same style.
Also, I wanted an editor that would be able to change it's content quickly via JavaScript code because I want to allow bloggers to write blog posts in multiple languages. In the upper right corner is the language selection menu. When the language is changed, the input fields for the title and text also change.
$(".bp-body-inputs").each((index, element) => {

    if (index == 0) {

        $(element).show();
        CKEDITOR.replace($(element).attr('id'), {
            customConfig: "{{ asset('/js/ckeditor/config.js') }}"
        });
    } else {
        $(element).hide();
    }
});

$("#bp-locale-menu li a").click((e) => {

    e.preventDefault();
    const value = $(e.currentTarget).data('value');
    $(e.currentTarget).parents(".dropdown").find('.dropdown-toggle').html($(e.currentTarget).text() + ' <span class="caret"></span>');
    $(e.currentTarget).parents(".dropdown").find('.dropdown-toggle').val(value);

    $(".bp-title-inputs").each(function (index, element) {

        $(element).hide();
        if ($(element).data('value') == value) {

            $(element).show();
        }
    });

    $(".bp-body-inputs").each(function (index, element) {

        if(CKEDITOR.instances[$(element).attr('id')] !== undefined) {
            CKEDITOR.instances[$(element).attr('id')].updateElement();
            CKEDITOR.instances[$(element).attr('id')].destroy();
        }

        if ($(element).data('value') == value) {

            $(element).show();
            bodyTextArea = element;
            CKEDITOR.replace($(element).attr('id'), {
                customConfig: ''
            });
        } else {
            $(element).hide();
        }
    });
});
Within these fifty lines of code, authors can write blog posts in several languages (specified within the blog engine settings). The text is saved as an array of JSON objects whose keys are ISO-15897 language codes (en, hr, etc.). An HTML version of the blog post is stored inside the JSON object, which is then displayed on the public part of the blog without additional formatting.
Search Engine Optimization (SEO)
I’m not some SEO genius, but I roughly know what things are needed to push a website to the top of the search.
- Open Graph Protocol — Allows a page to become a graph object on a social network (like Facebook)
- Twitter Cards — Same as OGP, but only for Twitter
- JSON-LD breadcrumbs — Every blog needs to have breadcrumbs, so the search engine knows which links to go through to get to the current page
- Meta tags — Meta tags for the title and description of the page affect the SEO of the page (blog author can change them in the blog settings)
Open source
The Master Games blog engine is hosted on GitHub as a public repository! Feel free to edit the code to suit your needs.
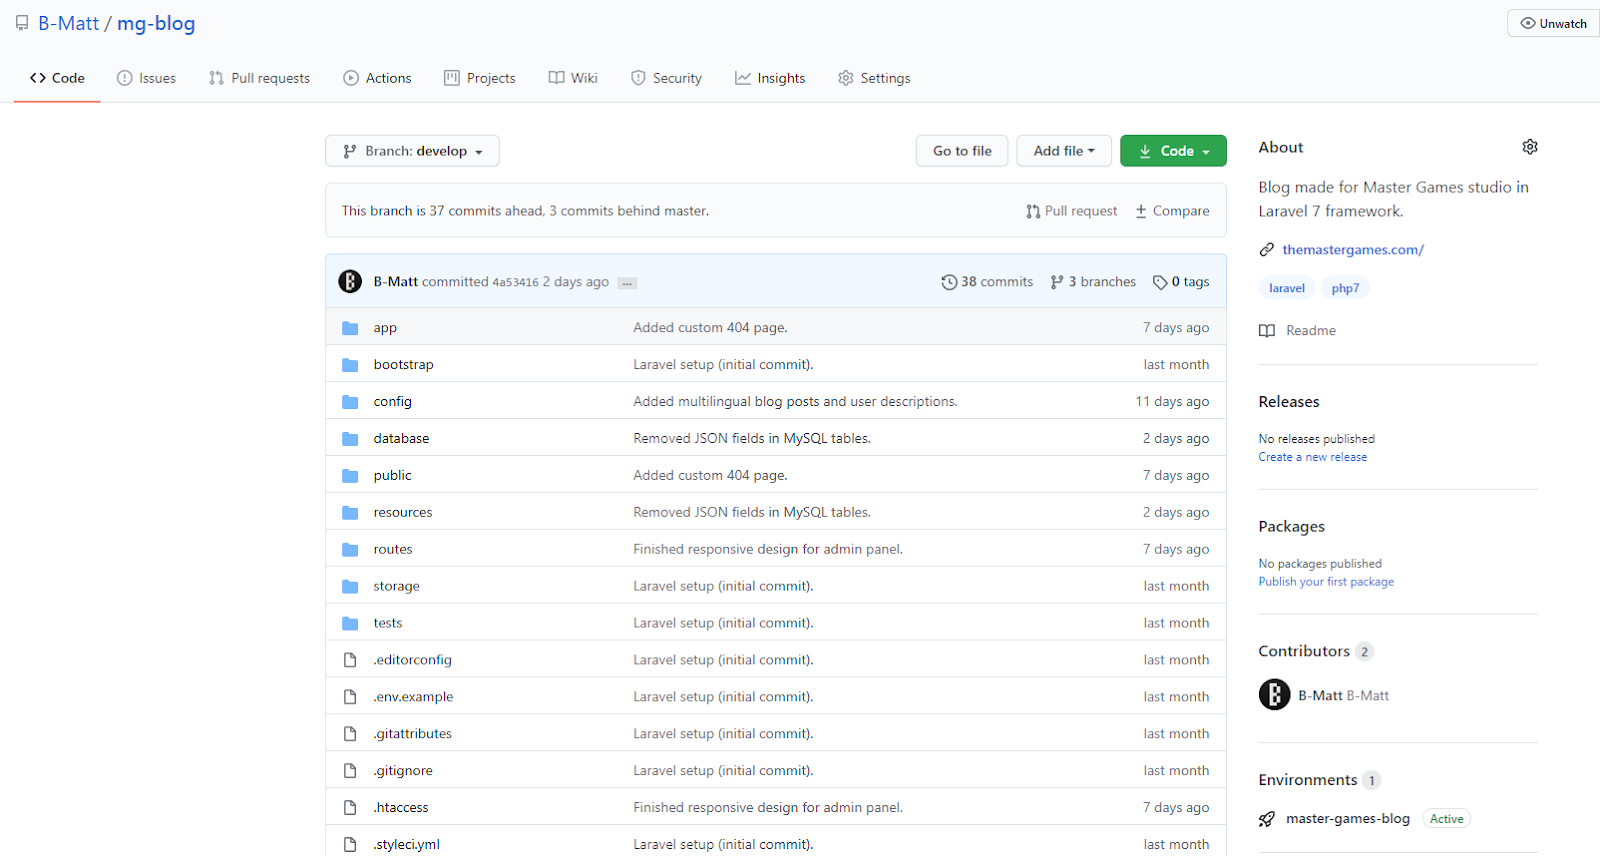
Bug fixes and new features are welcome. More about the project source code will be available in the README.md file on the Master Games - Blog repository!
What did I learn from this project?
I have to admit that the development took way longer than I previously anticipated. I spent most of my time designing the dashboard and the public part of the blog. Part of the design of the blog was taken from the Master Games website., but the display of posts and authors needed to be edited.
Every minute spent and every cup of coffee drunk was worth it! I learned a lot more about MVC and Laravel that I wouldn't have otherwise learned because I didn't "need" it. Your blog engine is a double-edged sword because, on the one hand, you can customize the blog as you need, but you can also not anticipate some security breaches that can lead to serious problems.
Be part of the Master Games community on Facebook and Twitter!
